Wiring
We had planned for the electronics package to be upgraded from the start. Our hope was to use some of the wiring already in place for the electronics at the helm, but once the project was started, it was obvious we had a much bigger mess on our hands.
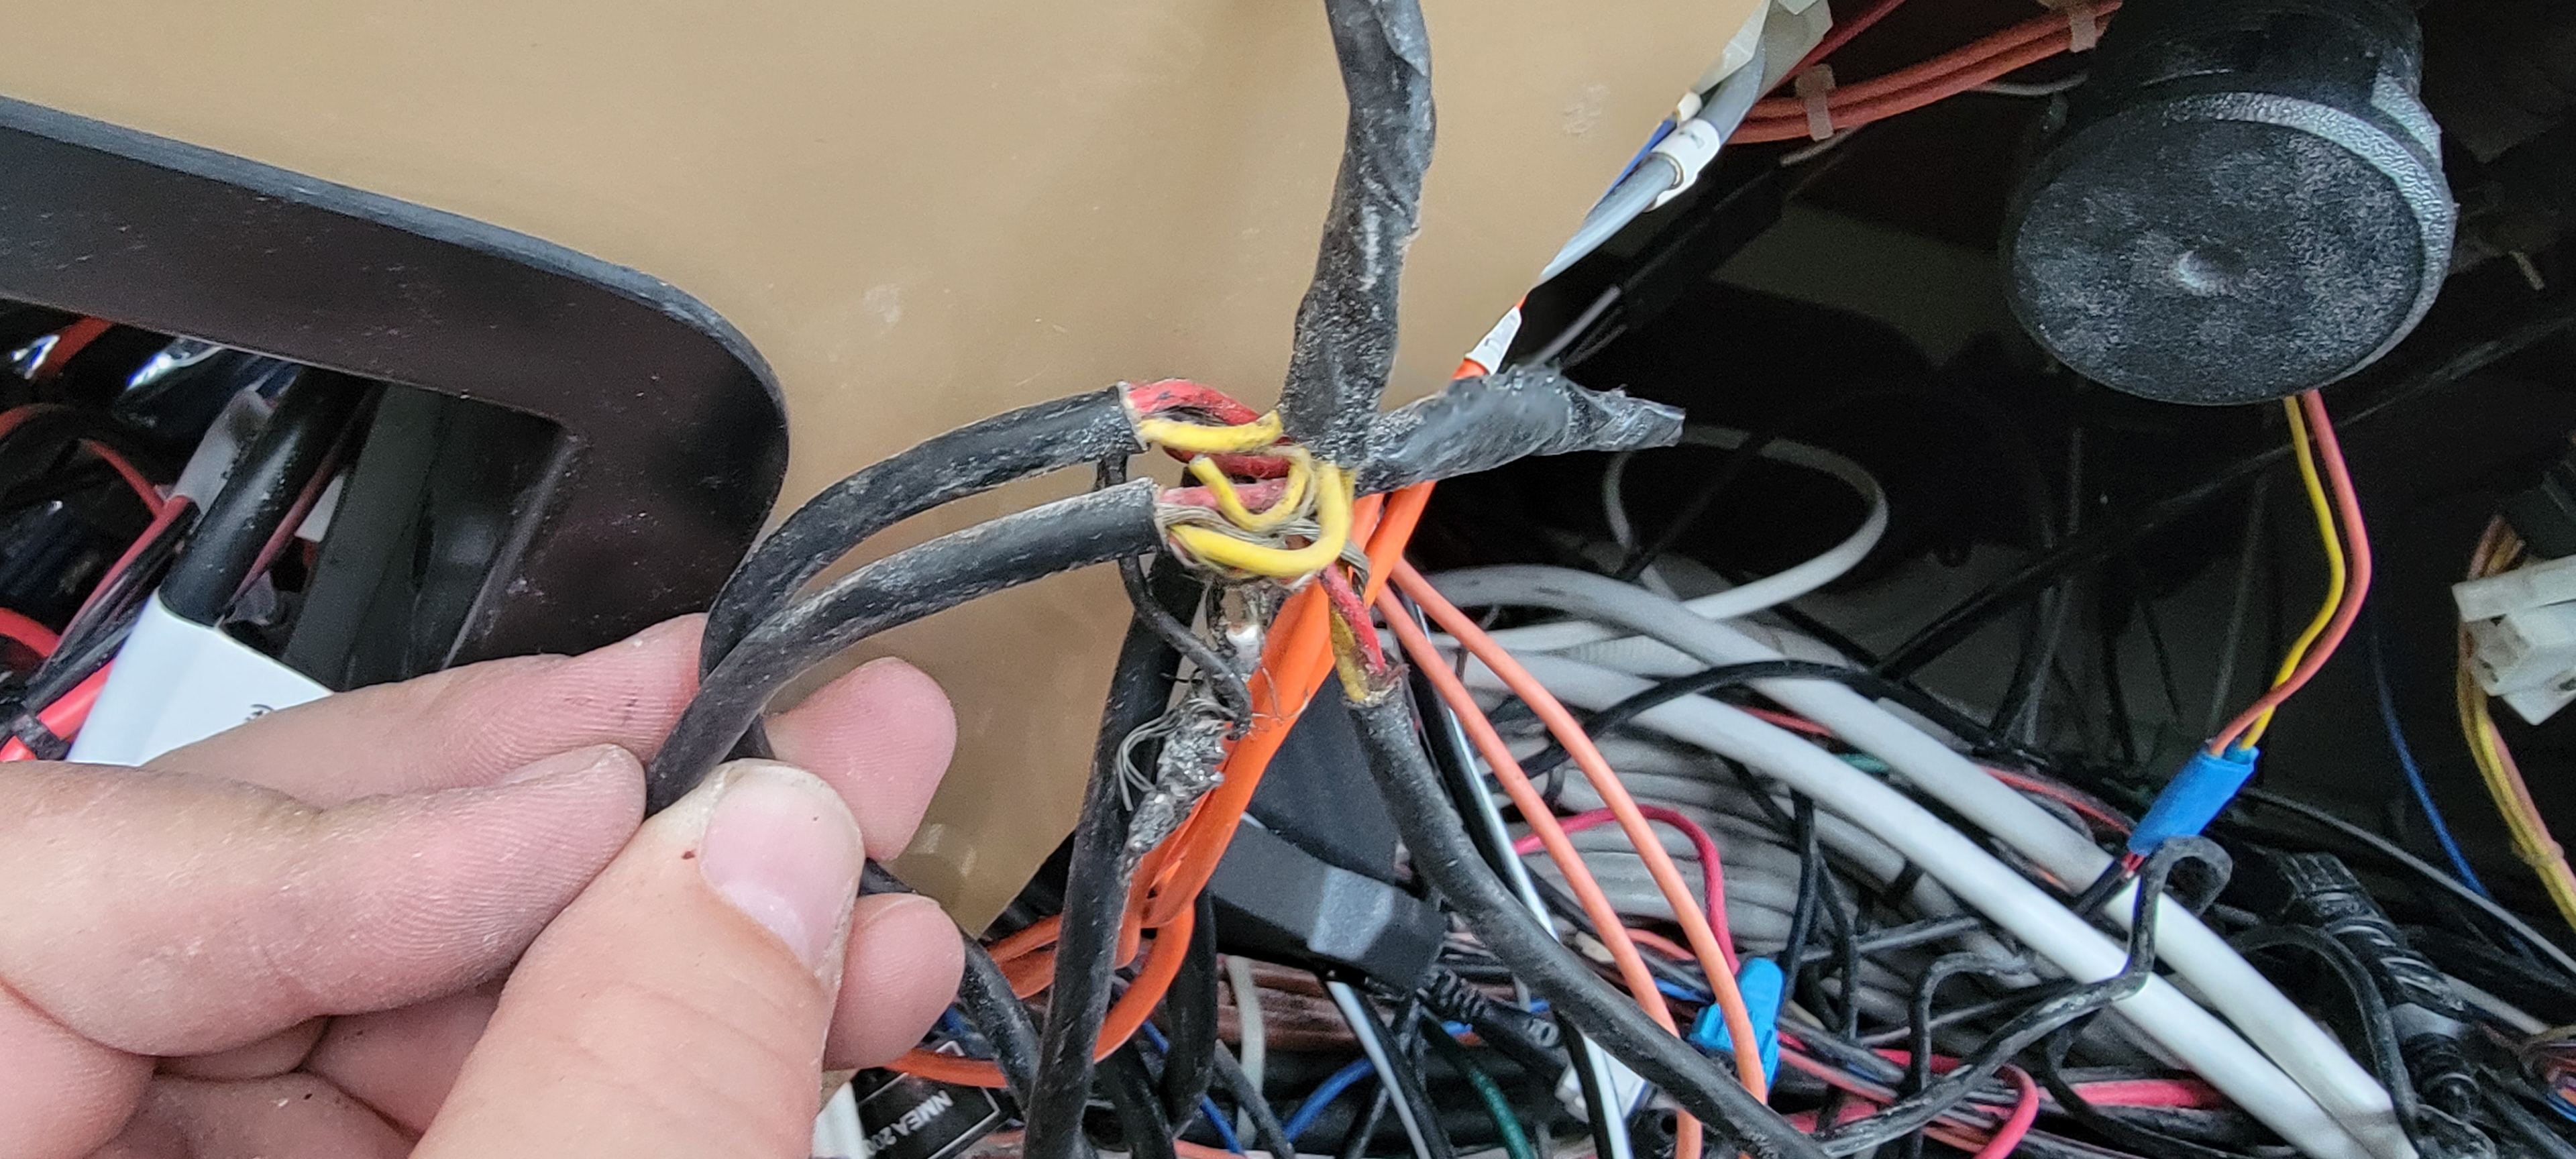
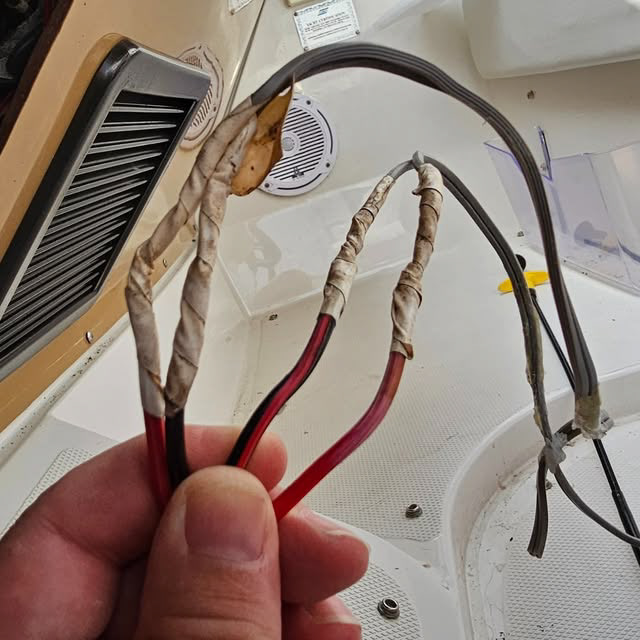
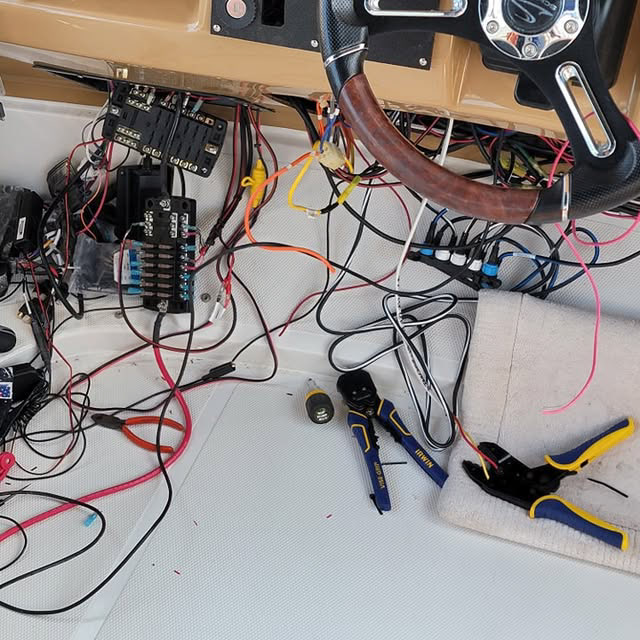
Opening the helm access panel for the first time was a bit of shock and disappointment for us. Many of the electronics were wired in an alarming manner. Live wires were dangling, butt connectors were replaced with a few twist of the wire and electrical tape. Attempts to solder wires together were laughable at best.
In addition to wiring connection issues, there was also poor wiring decisions that created additional problem. A few devices that needed to certain gauge wire, the wires were cobbled together using what appeared to be whatever was on hand at the time and taped together. Unfortunately, digging through the paperwork we did get, this particular installation was handled by an actual electrician changing air horns to electric horns. You should not reduce the size of the wire as you go by twisting and taping different size wire together or using outdoor speaker wire as part of you power supply.
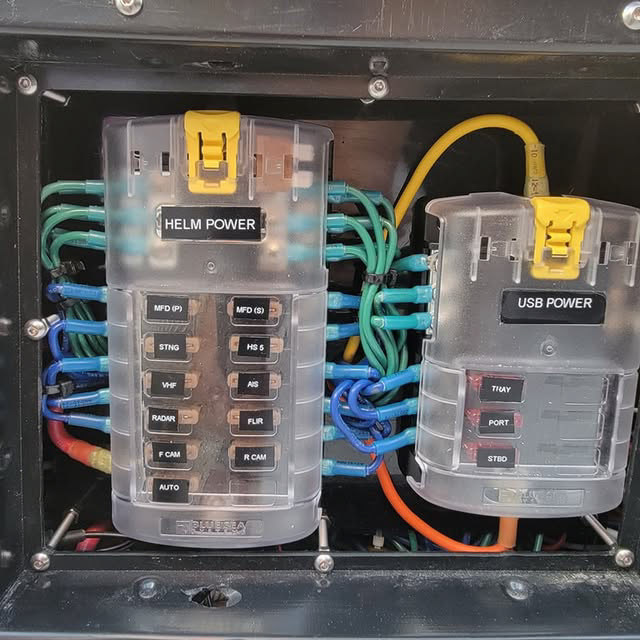
We traced all the power supply wires back to the breaker panel to make sure all the wires were accounted for. After laying out what was needed to power our new electronics package, we got to work. The main power to the helm was supplied by a single 2/0 cable from the breaker panel on a 30 amp breaker. This is run to a block distributor at the helm. This was connected to a series of old push reset fuses. The 2/0 was replaced with new cable, and the push reset fuses were removed. A 6awg wire was run 2ft from the distribution block to new fuse blocks. This will allow up to 70a draw from the main power block to the fuse block. The USB chargers were put on a separate fuse block with an 8awg wire allowing for up to 40a draw. The blocks were fused with recommended fuse sizes and each fuse block is drawing 10% or more below the rating of the main wire supplying power to the block.
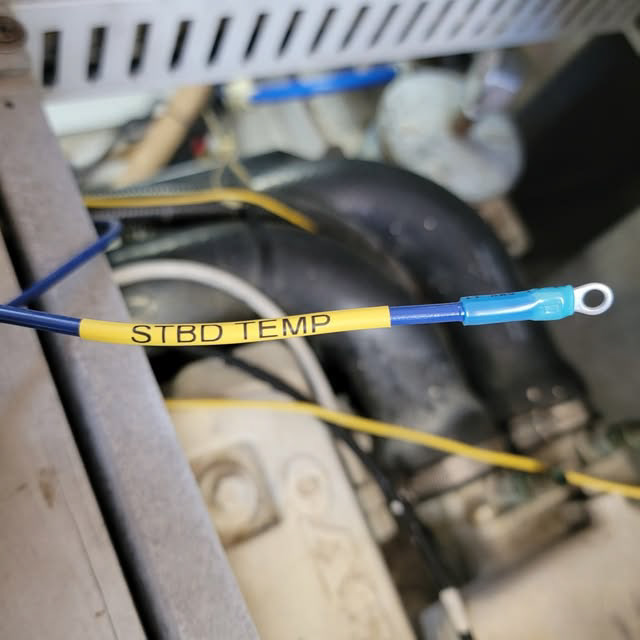
We determined the best location for the fuse boxes were inside the return air vent for the helm air conditioner. Using a left over piece of starboard from another project and six inch stainless 4mm bolts, we created a stand off platform that would allow the blocks to be hidden behind the air grate cover, but be accessible enough to replace fuses quickly should there be an issue. All the wiring behind the helm access panel was grouped together and zip tied to keep things as neat as possible, including using printable shrink tubing to identify what the wire are powering.